Install and configure PhpStorm
My next goal was to install and configure an integrated developer environment (IDE) named PhpStorm, because Shopware recommends this IDE.
I read the following page and was lost a bit. Because it doesn´t worked for me and it looked easier than it seems. In this article some developer know how, which is needed to understand the dependencies, was being expected. I needed some time to understand the dependencies of all the documentations which I found in the web and at the end I was successful. Below of the following screenshot you will find my learnings and which way I went. So you can skip this reading if you want.

Here are the learnings from my journey. First I try to summarize the milestones:
- Download and Install PhpStorm
- Install within PhpStorm the Shopware Plugin
- Understand the concept how to connect a virtual machine (VM) from PhpStorm
- Configure PhpStorm
- Download Source Code from the VM into a PhpStorm project
Download and Install PhpStorm
This is of course the simplest step. I went to the homepage of JetBrains, downloaded the 30-days-trail-edition.
https://www.jetbrains.com/phpstorm/
Configure PhpStorm and install Shopware Plugin
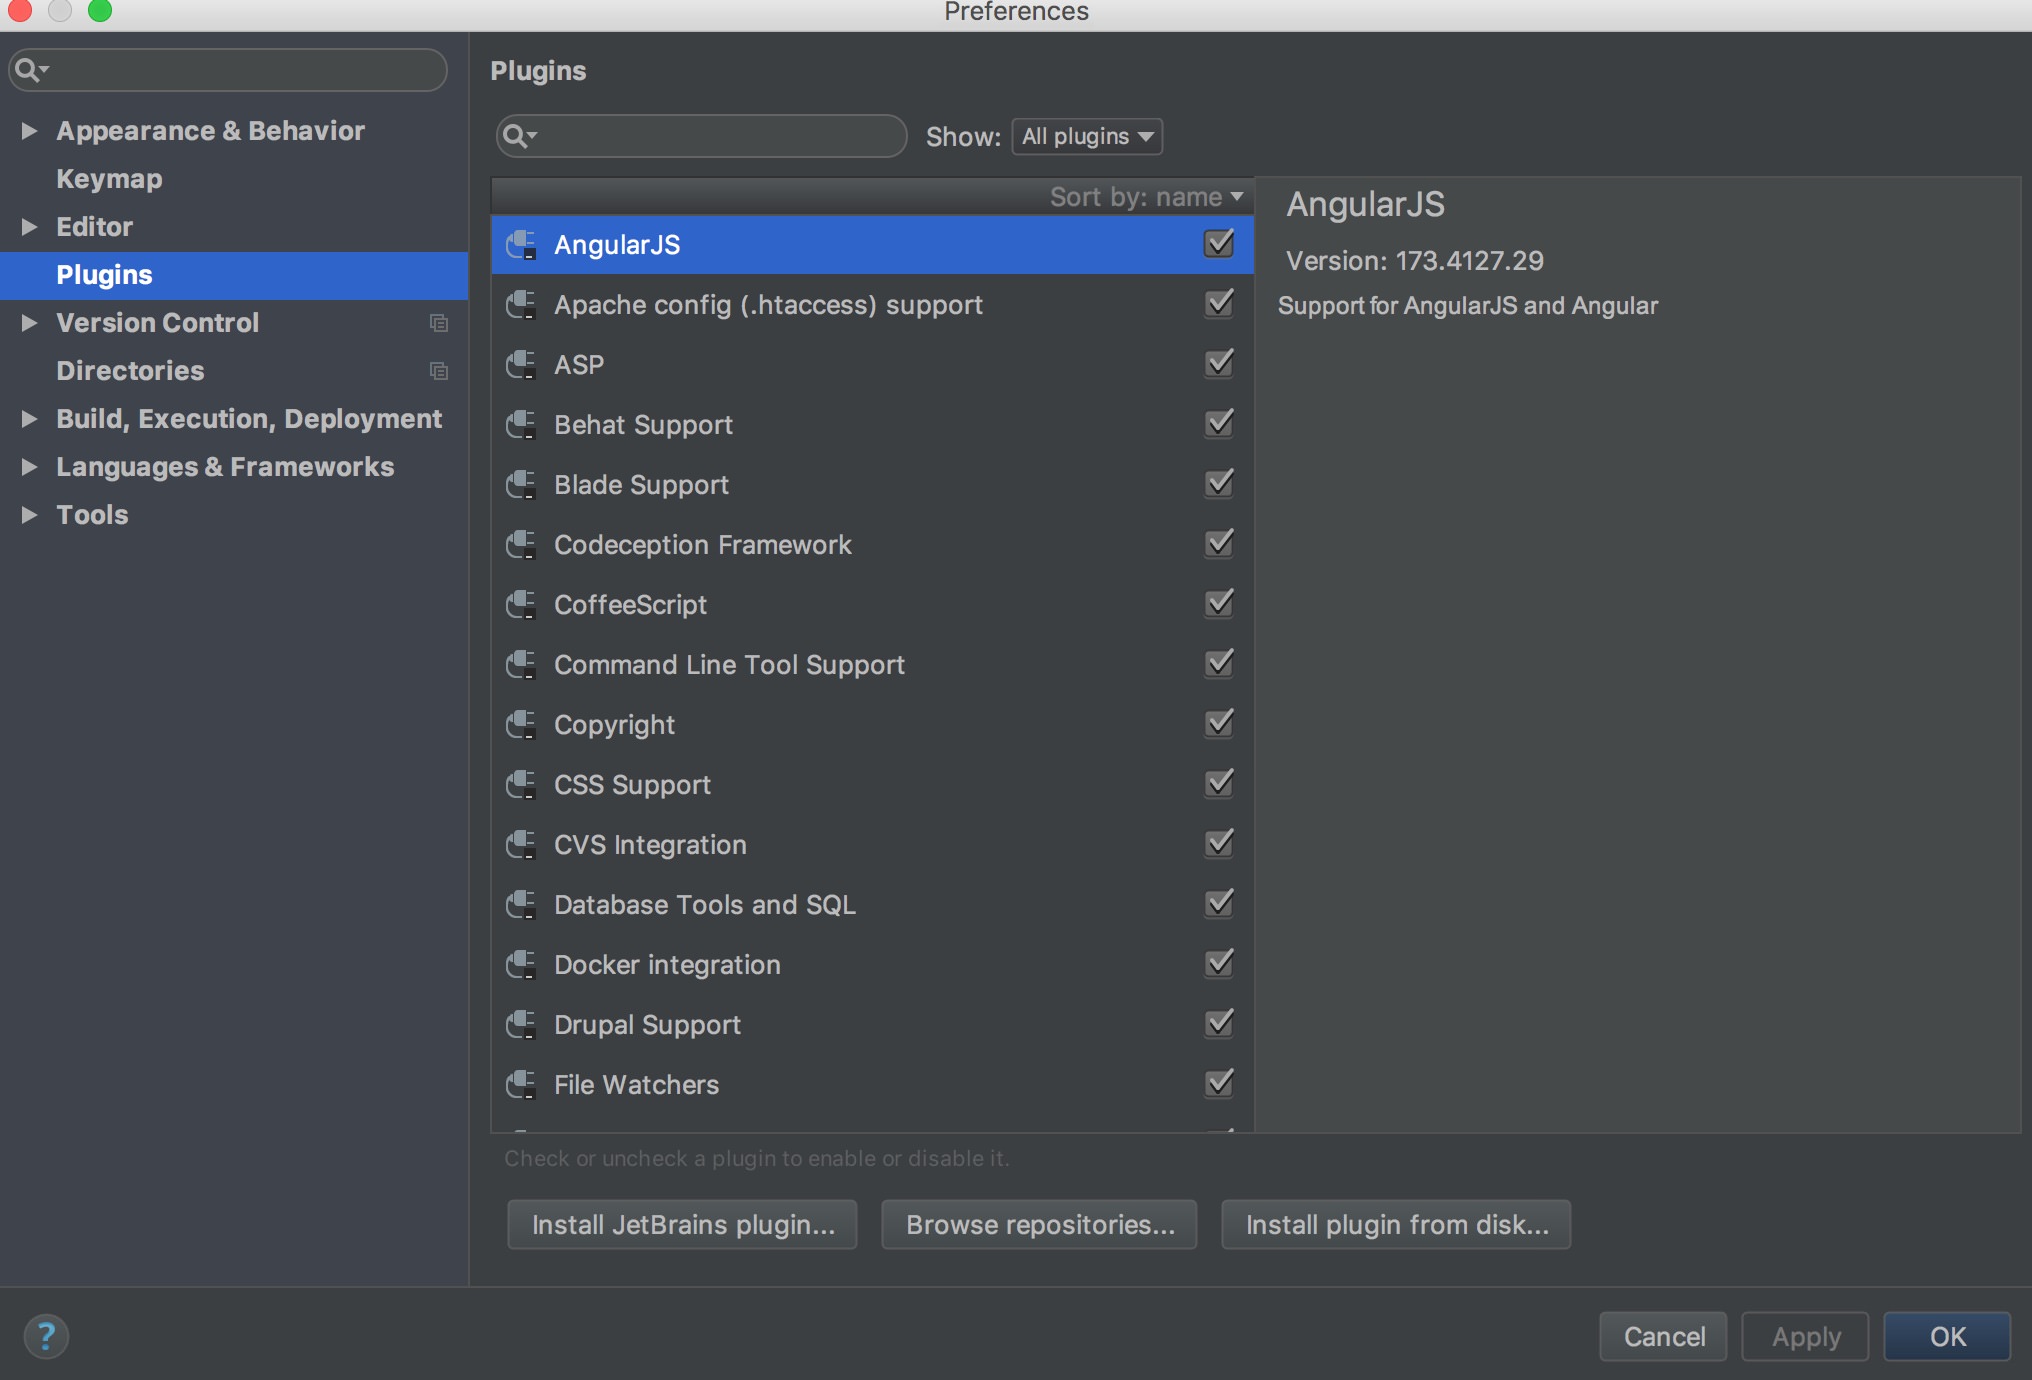
Open the Preferences of PhpStorm, which you will find in menu „PhpStorm>Preferences. Go to „Plugins“ and search for „Shopware“.
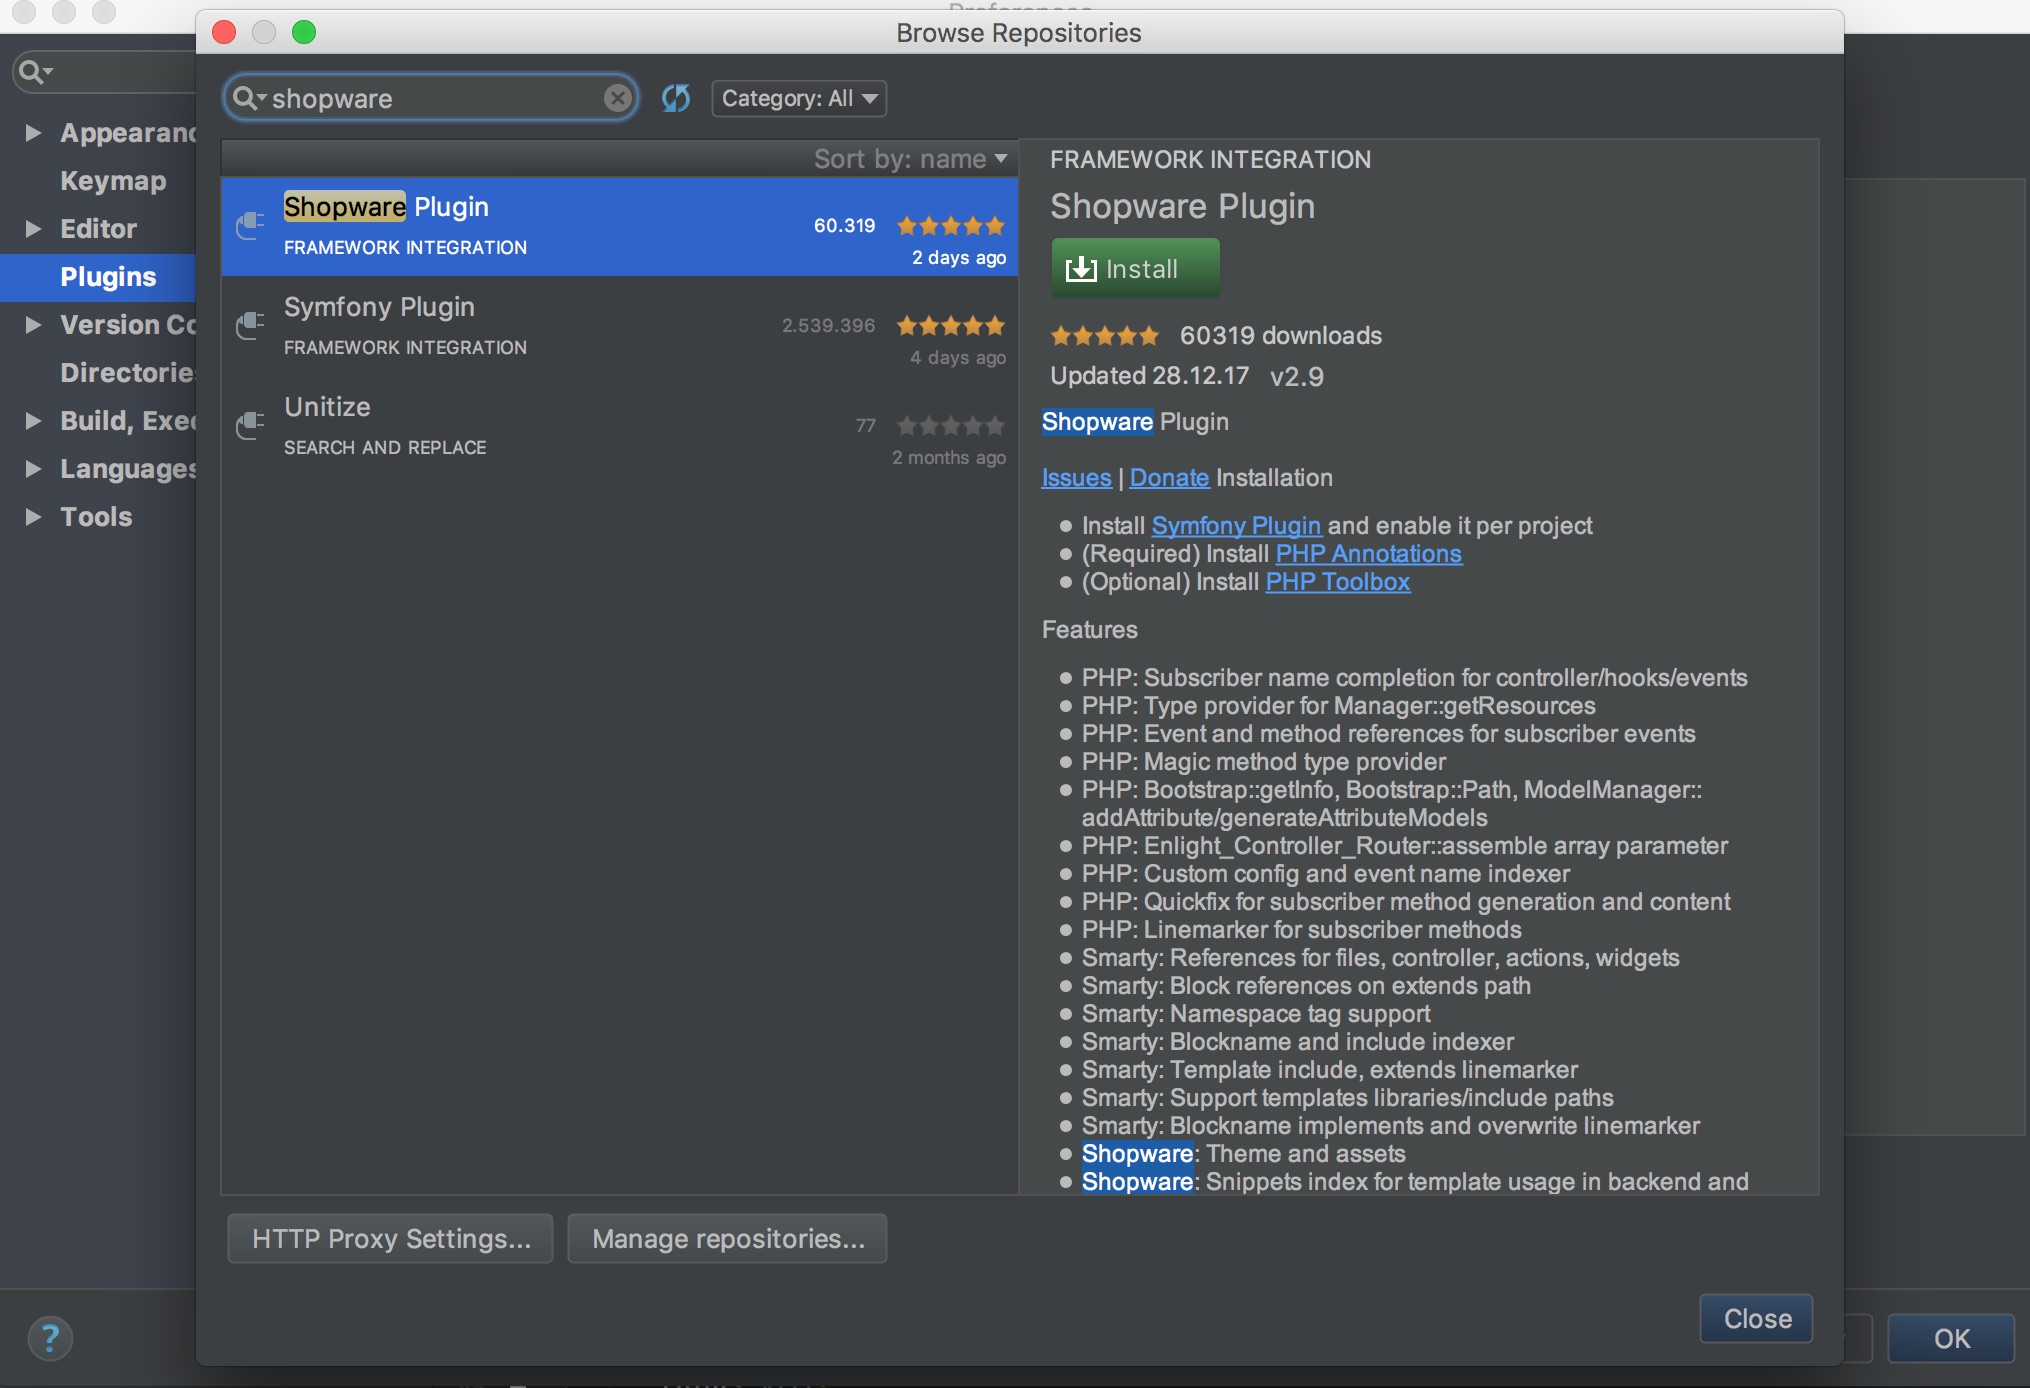
You will find after searching for „shopware“ the possibility to install the plugin on the right side. Klick on „install“.
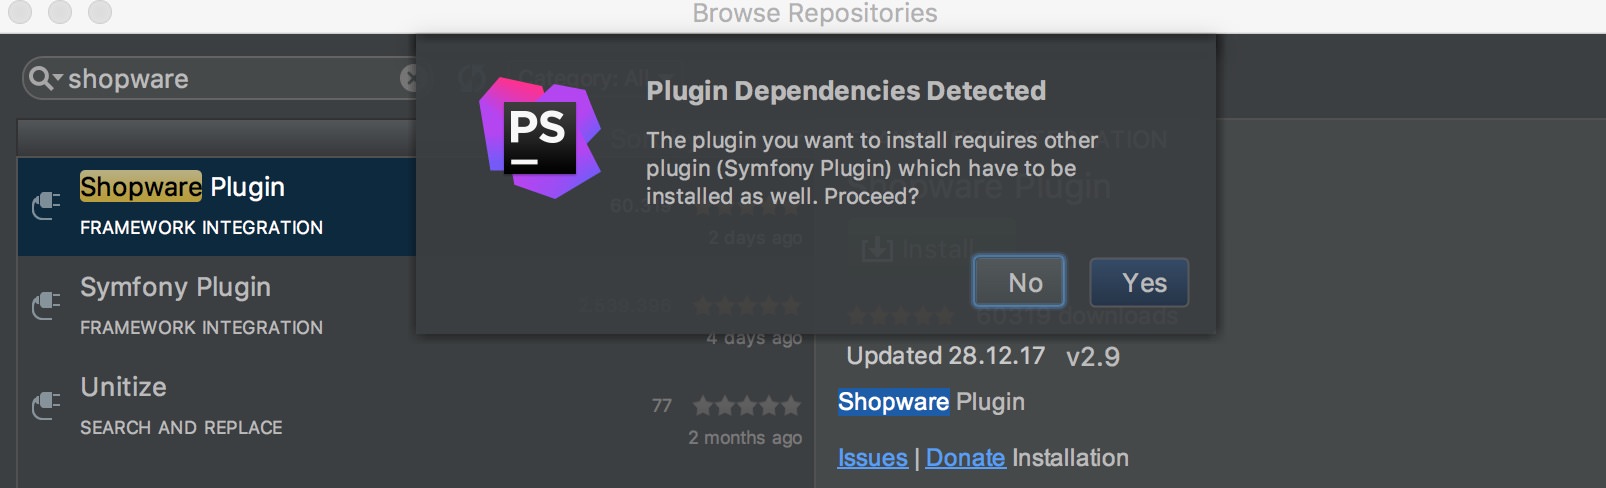
Then the plugin installation process will inform you that the „Symfony Plugin“ is needed. Confirm with „Yes“ to install this Plugin too.
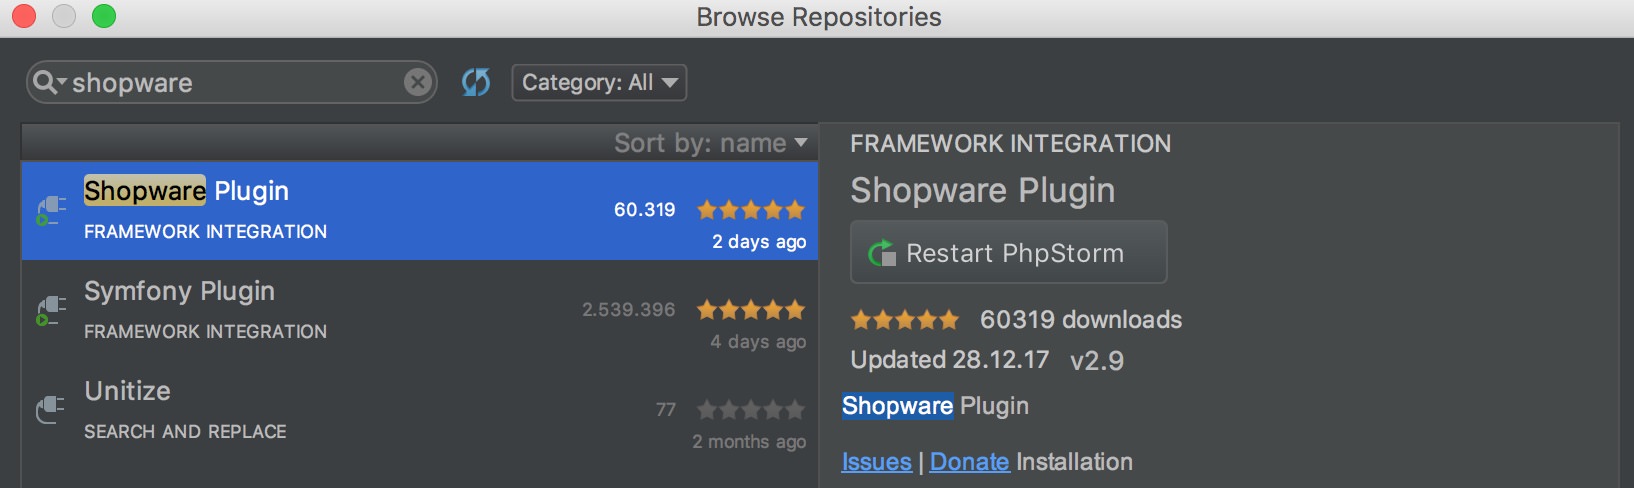
You have to restart PhpStorm when it is requested. Klick on „Restart PhpStorm“.
So far so good. That was easy, right?
Understand the concept to connect PhpStorm to the virtual machine
This was the most interesting part. Because you need to understand the concept of IP address and file system of the virtual machine first, before you can configure PhpStorm. The original documentation on top of this page, which explains this step didn´t worked, because the mentioned IP addresses, SFTP Host, ports and folders of my virtual machine are different.
You have to identify in a first step the „keys“ of your VM.
So open the „Terminal“ application of your Mac.
First important vagrant command is „vagrant global-status„. Run this within your „Terminal“. You will get a list of all your vagrant VMs on your Mac. I see that my shopware-vagrant VM is running and has an identificator „dff0eee“ which I can use later to run commands directly on the VM.
MyBookPro:~ admin$ vagrant global-status

id       name    provider   state   directory
--------------------------------------------------------------------------
95dc38b  default virtualbox running /Users/admin/DEVroot/Vagrant
dff0eee  default virtualbox running /Users/admin/DEVroot/shopware-vagrant

The above shows information about all known Vagrant environments
on this machine. This data is cached and may not be completely
up-to-date. To interact with any of the machines, you can go to
that directory and run Vagrant, or you can use the ID directly
with Vagrant commands from any directory. For example: "vagrant destroy 1a2b3c4d"
Now you see the path to your virtual machine. Open the folder „shopware-vagrant“ and then run the command „vagrant ssh-config“ to print out the configuration to the „Terminal“ window.
MyBookPro:~ admin$ cd devroot

MyBookPro:devroot admin$ cd shopware-vagrant

MyBookPro:shopware-vagrant admin$ ls
LICENSE README.md Vagrantfile ansible

MyBookPro:shopware-vagrant admin$ vagrant ssh-config

Host default
  HostName 127.0.0.1
  User vagrant
  Port 2222
  UserKnownHostsFile /dev/null
  StrictHostKeyChecking no
  PasswordAuthentication no
  IdentityFile /Users/admin/DEVroot/shopware-    vagrant/.vagrant/machines/default/virtualbox/private_key
  IdentitiesOnly yes
  LogLevel FATAL
  ForwardAgent yes
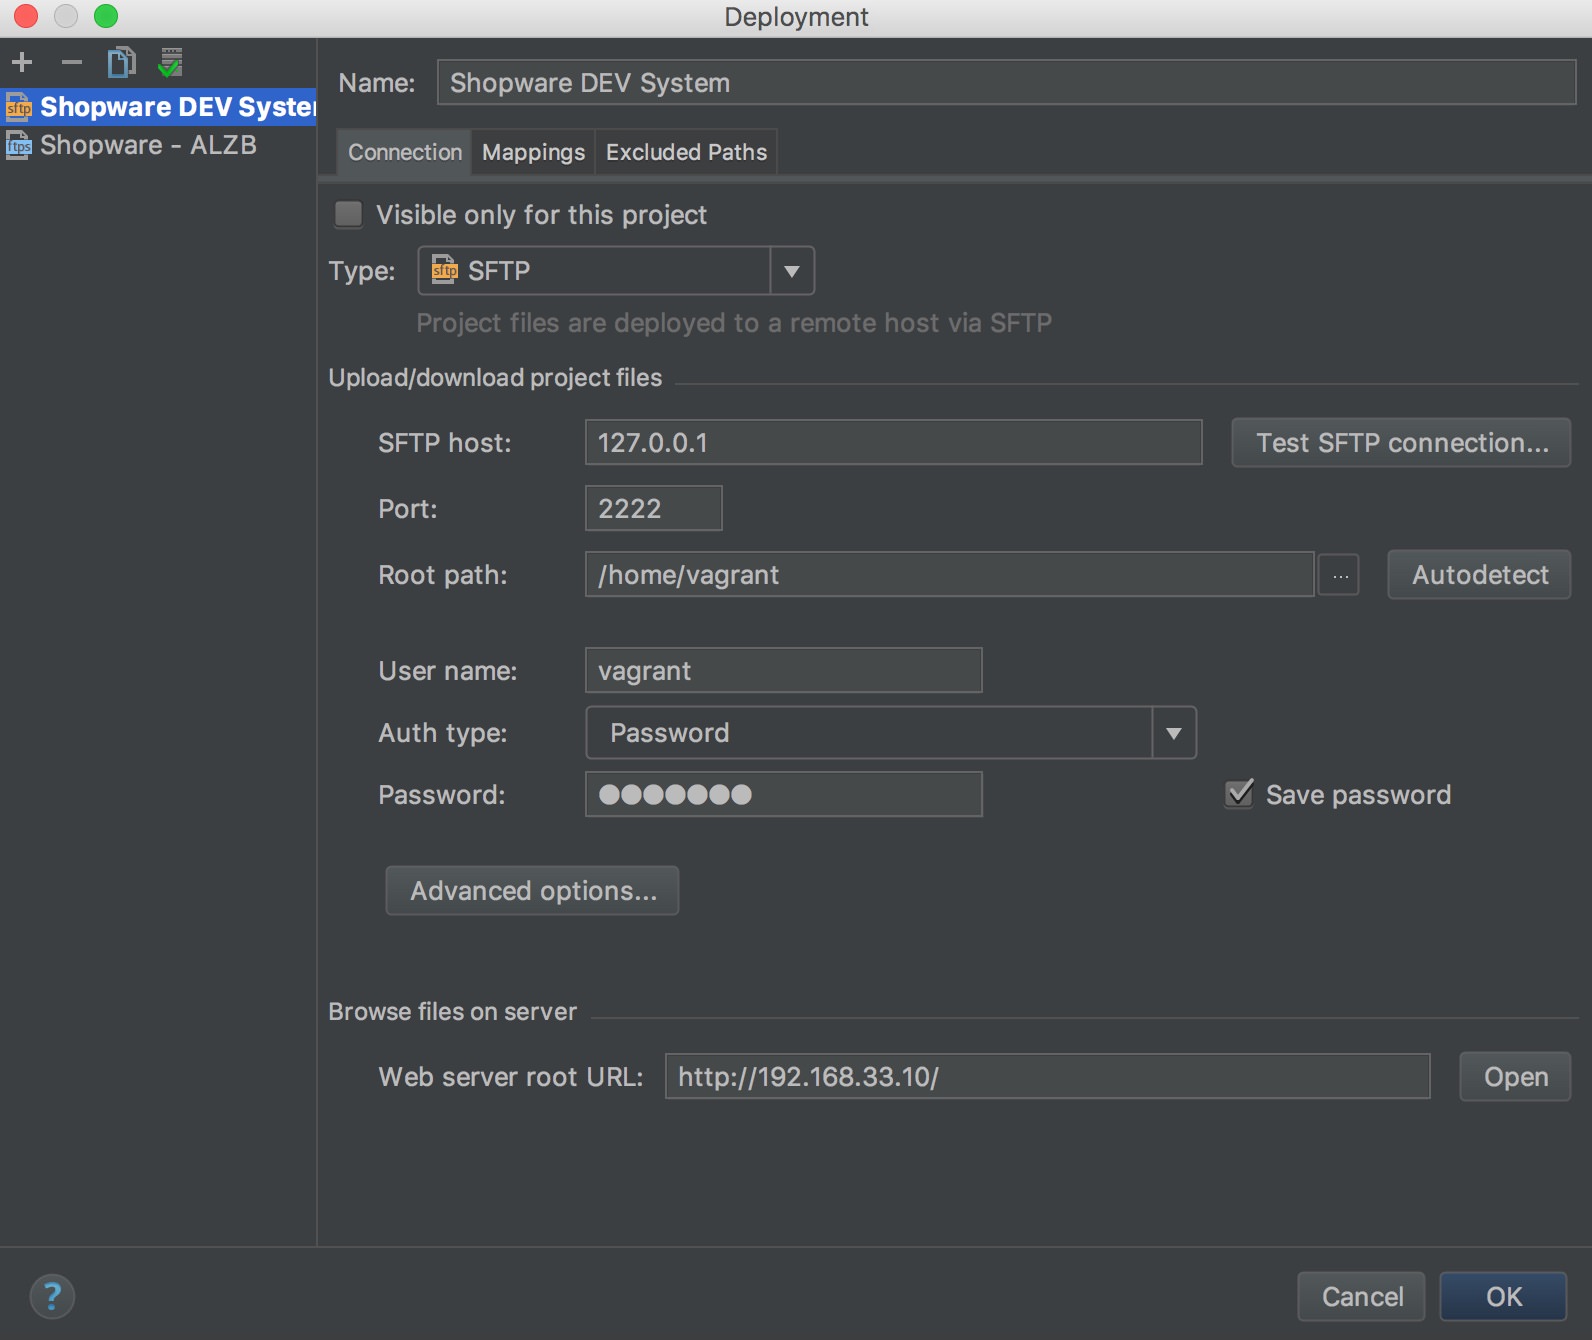
You can see your HostName and Port as well as user. This is needed for the PhpStorm connection. In this example „127.0.0.1“ and „2222“.
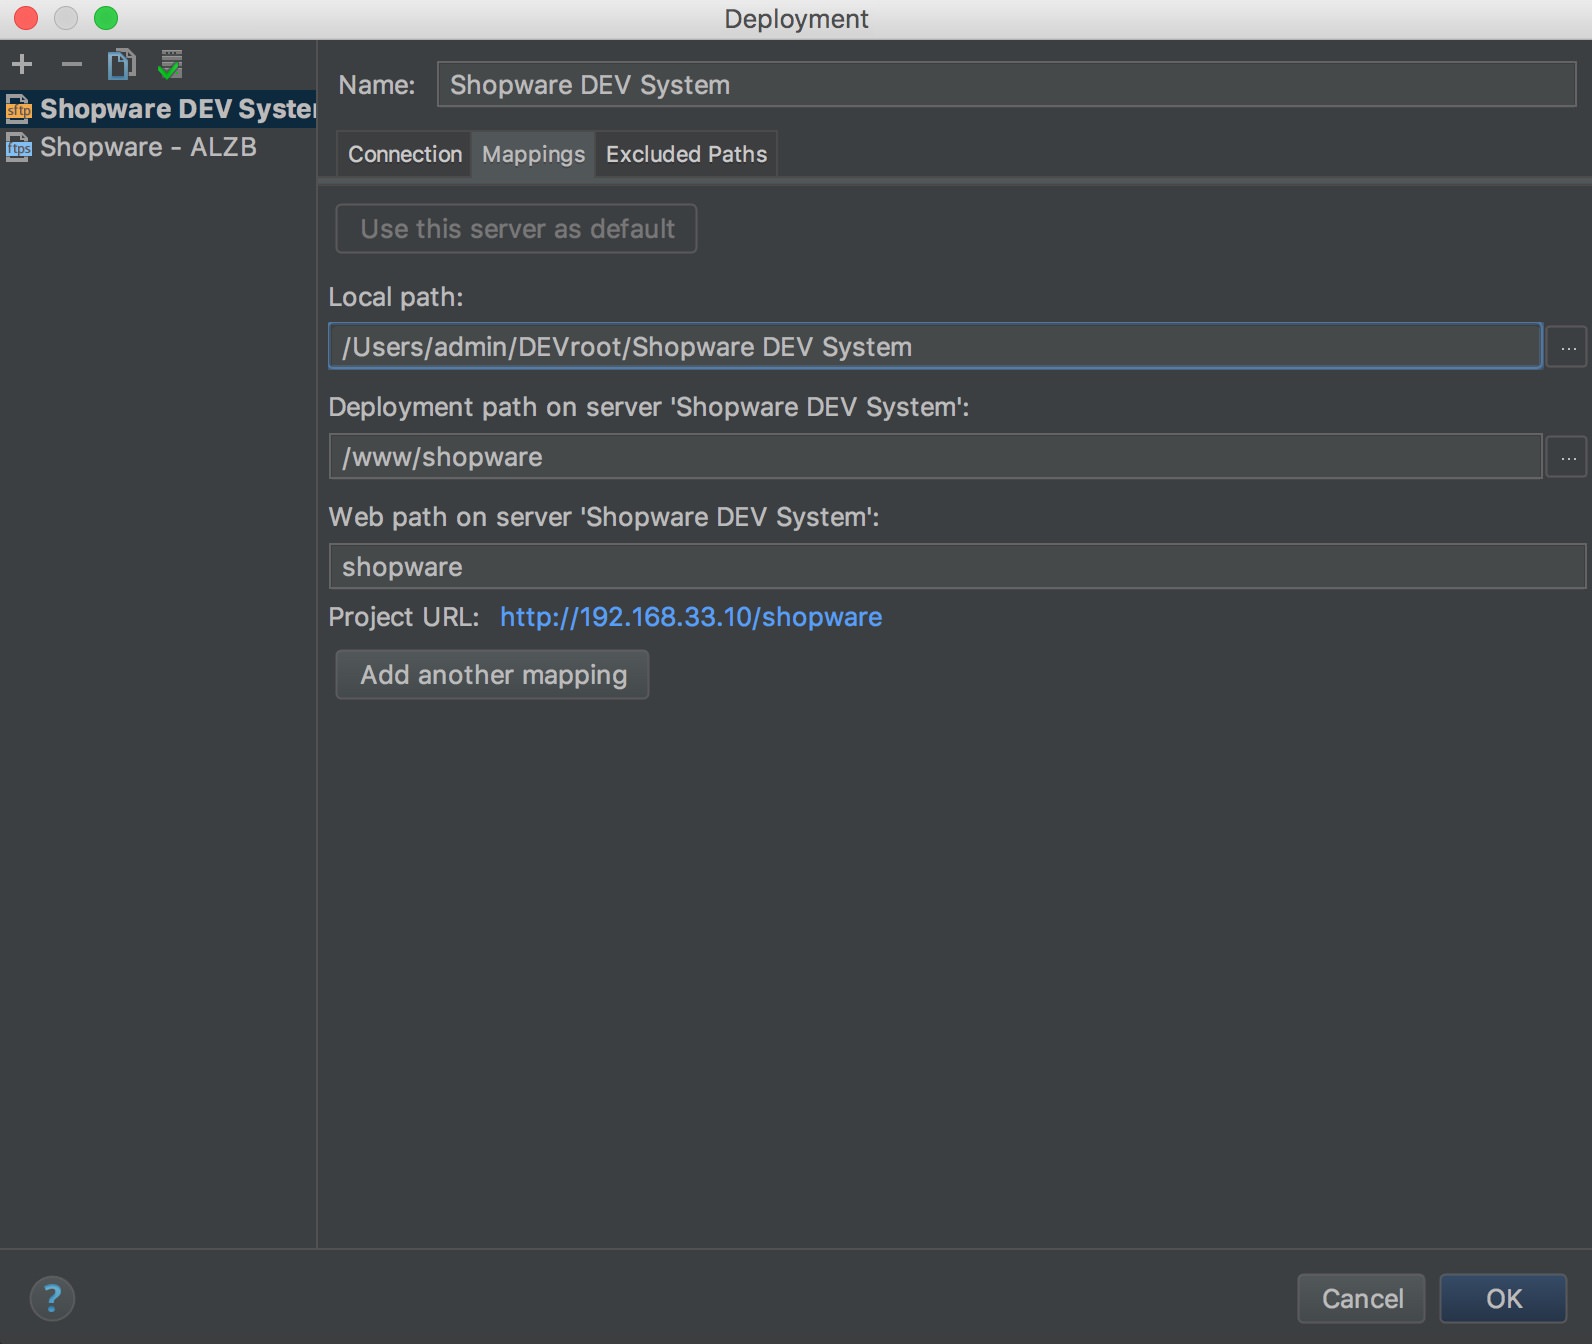
Configure PhpStorm
Open PhpStorm and menu „Tools>Deployment>Configuration“ and insert the following. The password is „vagrant“ as you learned from previous steps.
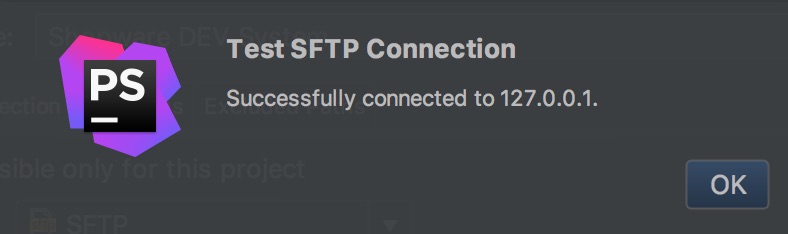
Check the connection in the connection tab by pressing button „Test SFTP connection“. You should see a success message.
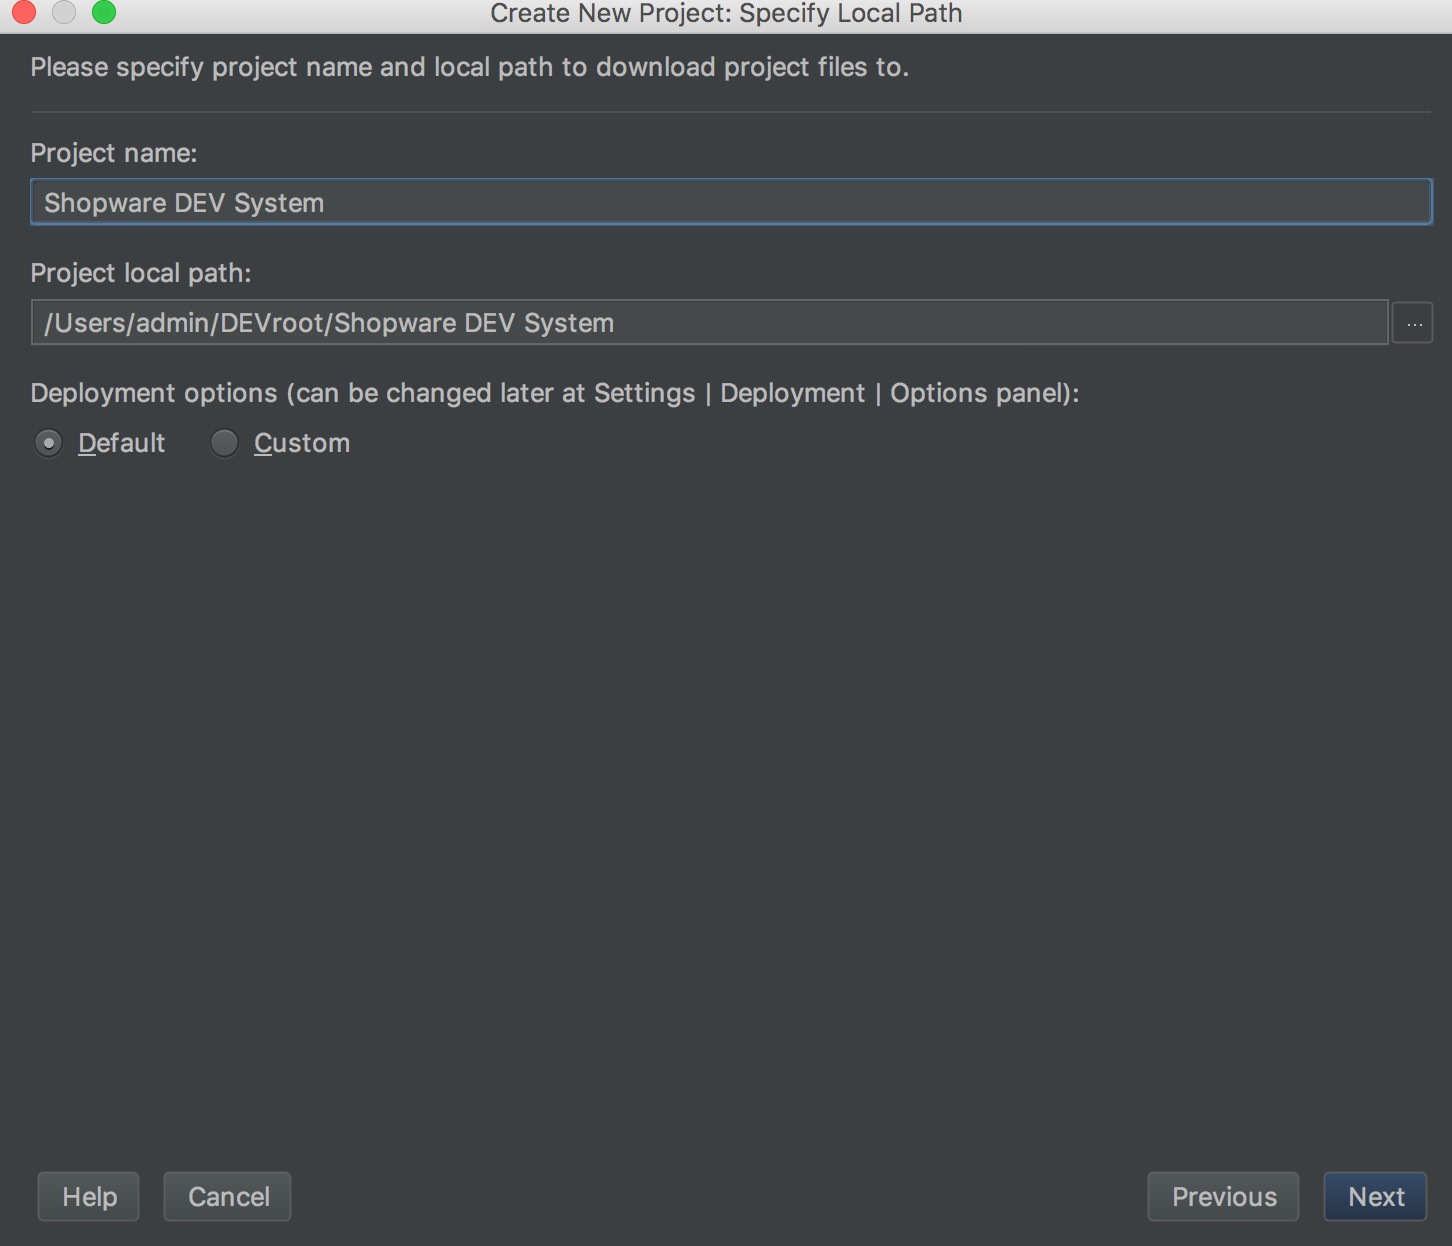
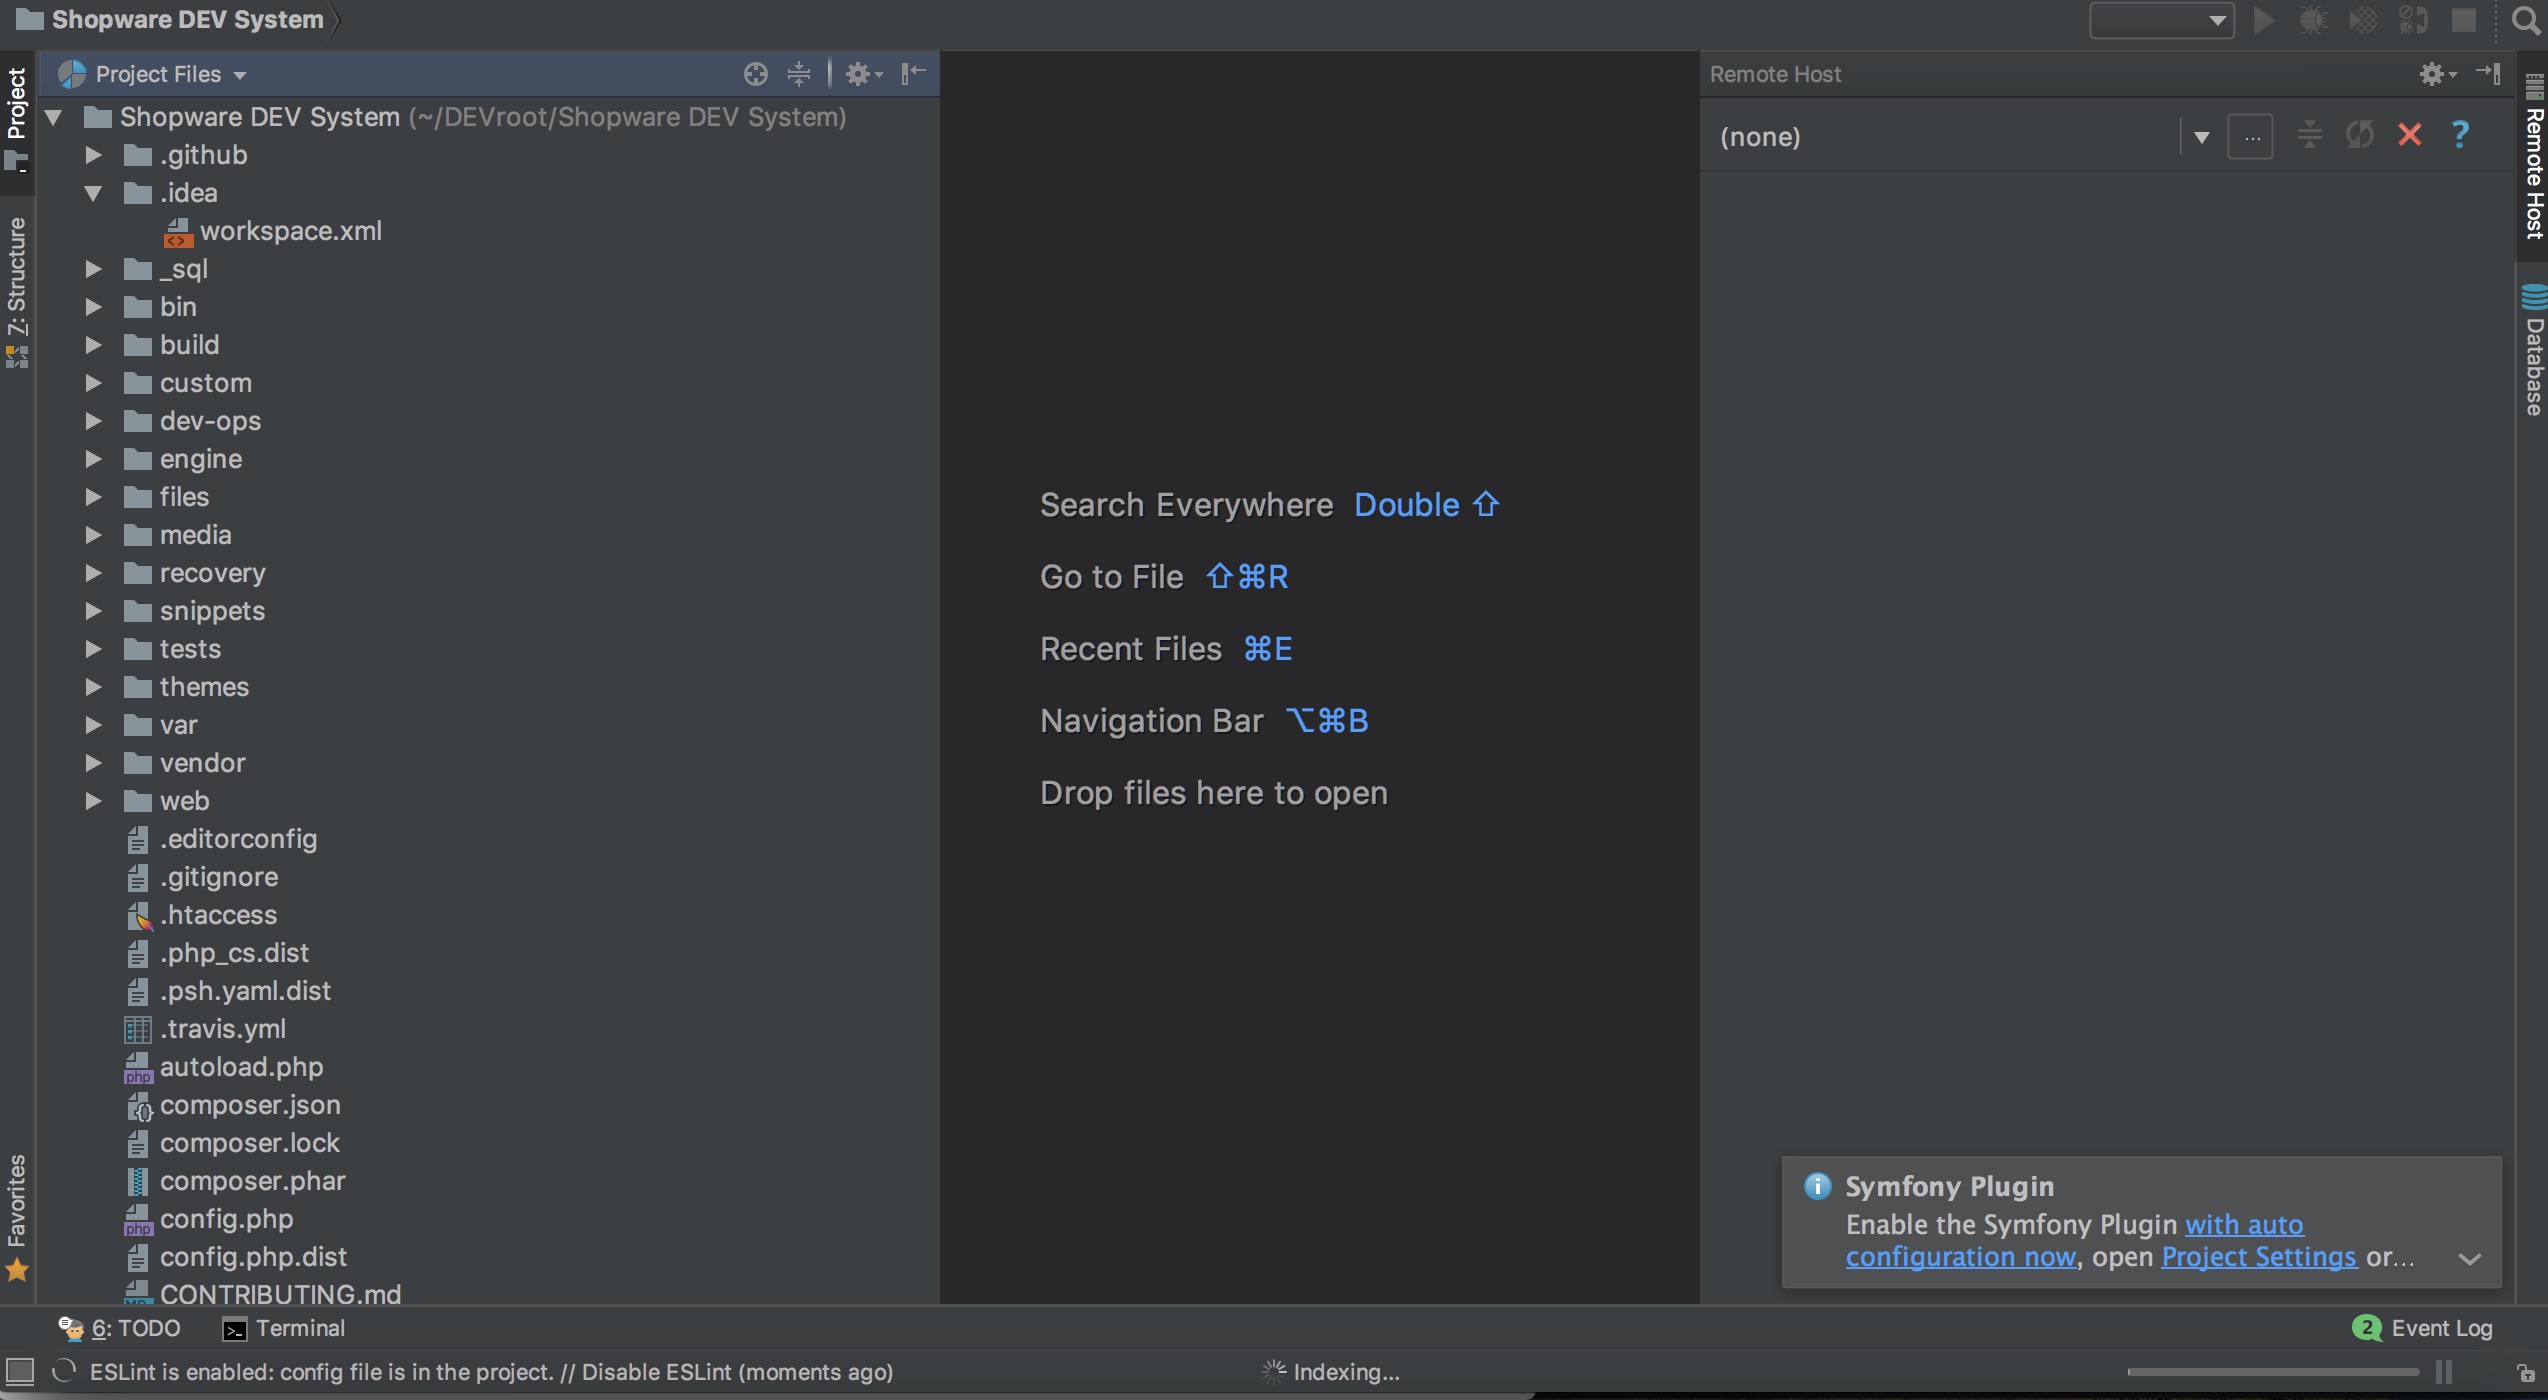
Now you can create a new project in PhpStorm to download the shopware files from your virtual machine on your local folder.
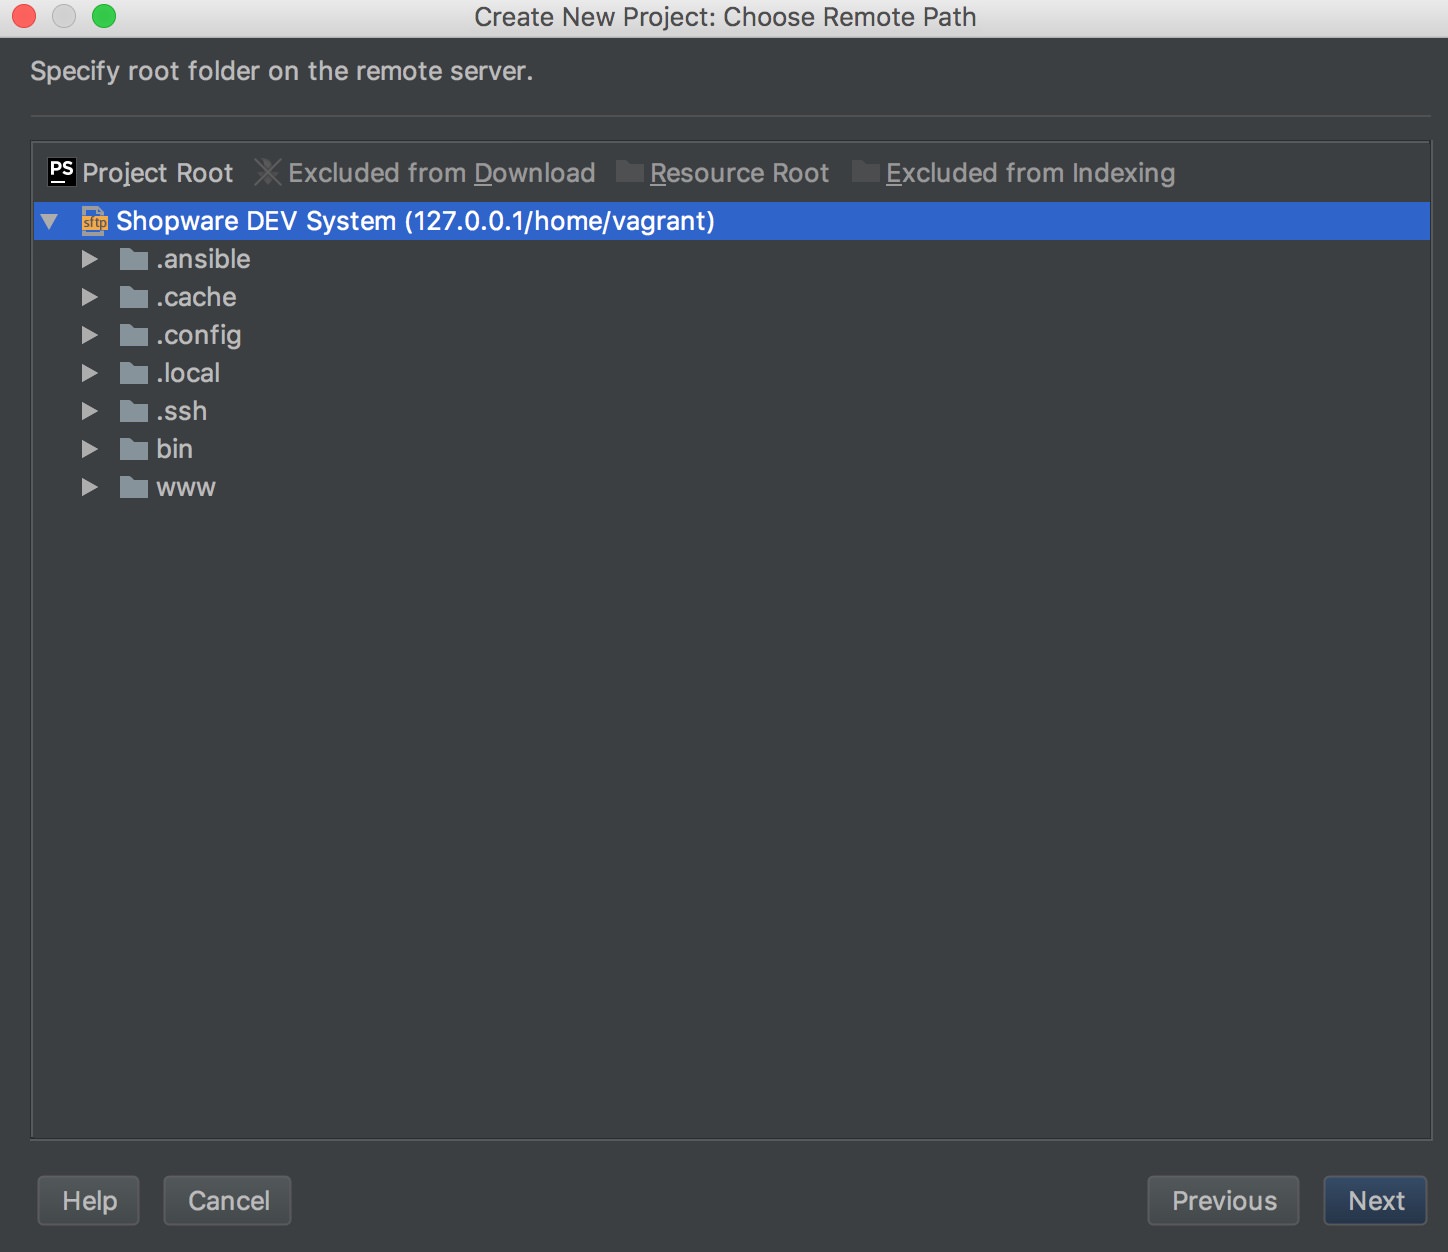
Download Source Code from the VM into a PhpStorm project
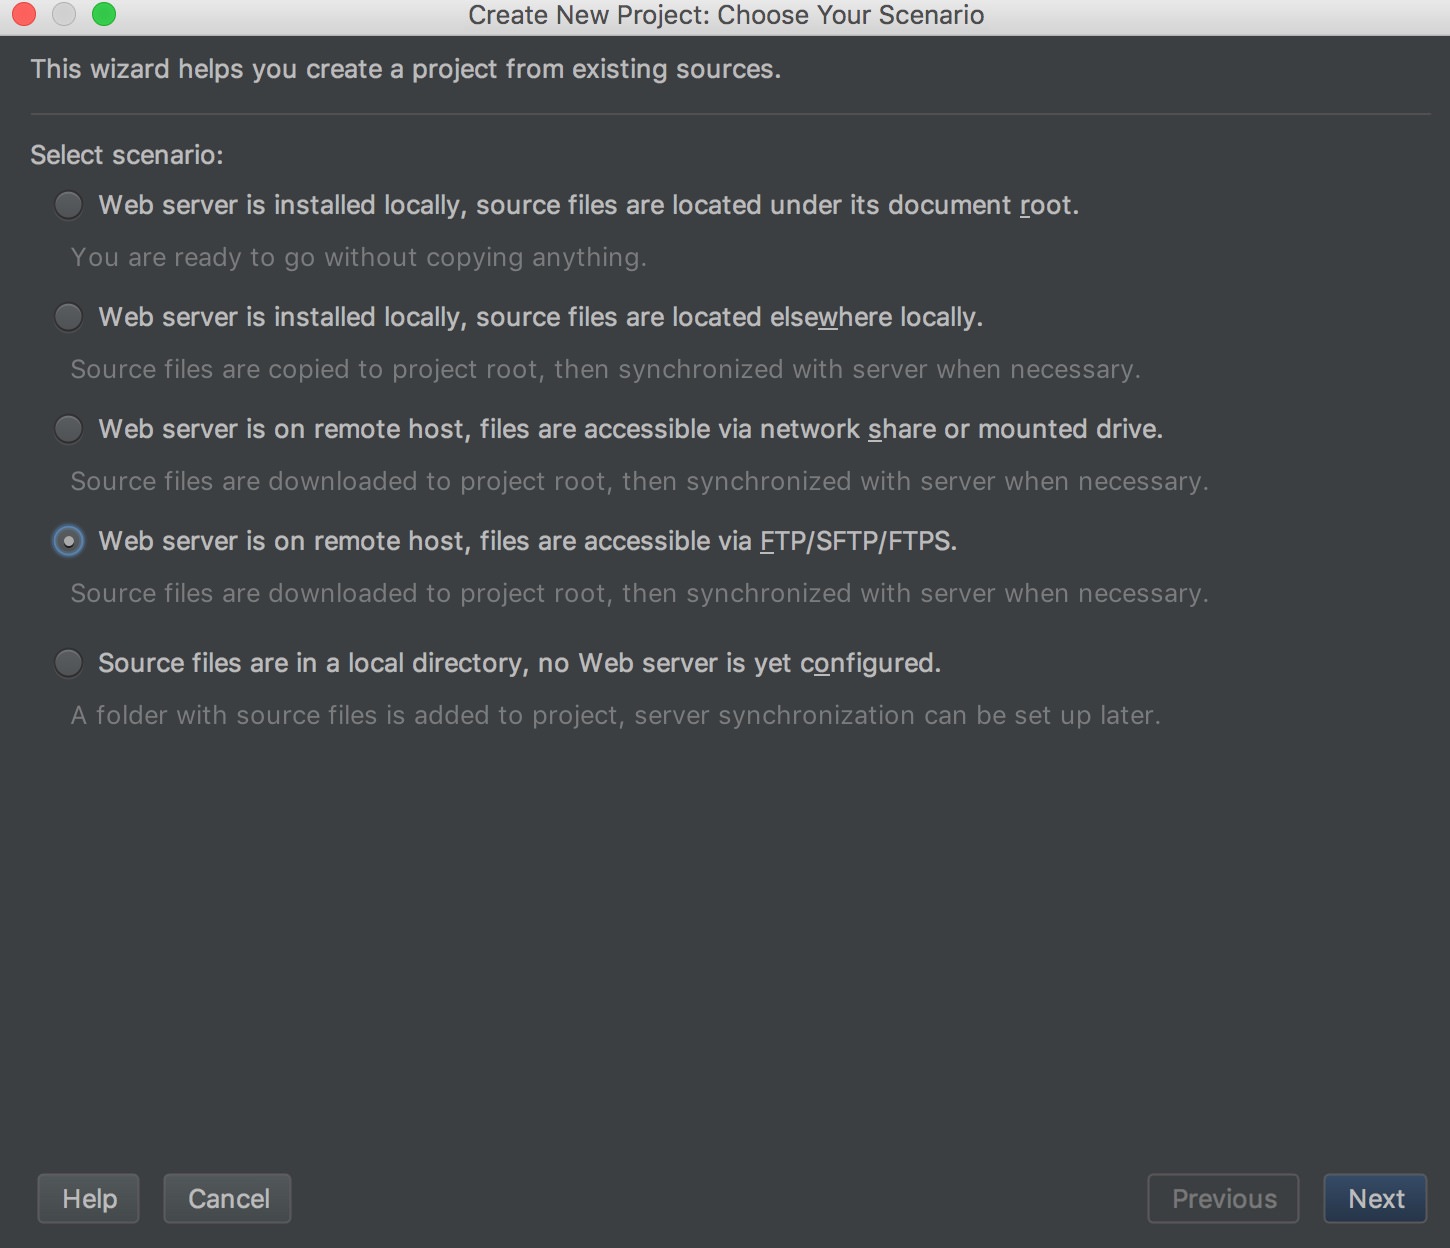
Open the menu „File>New Project from Existing Files…“

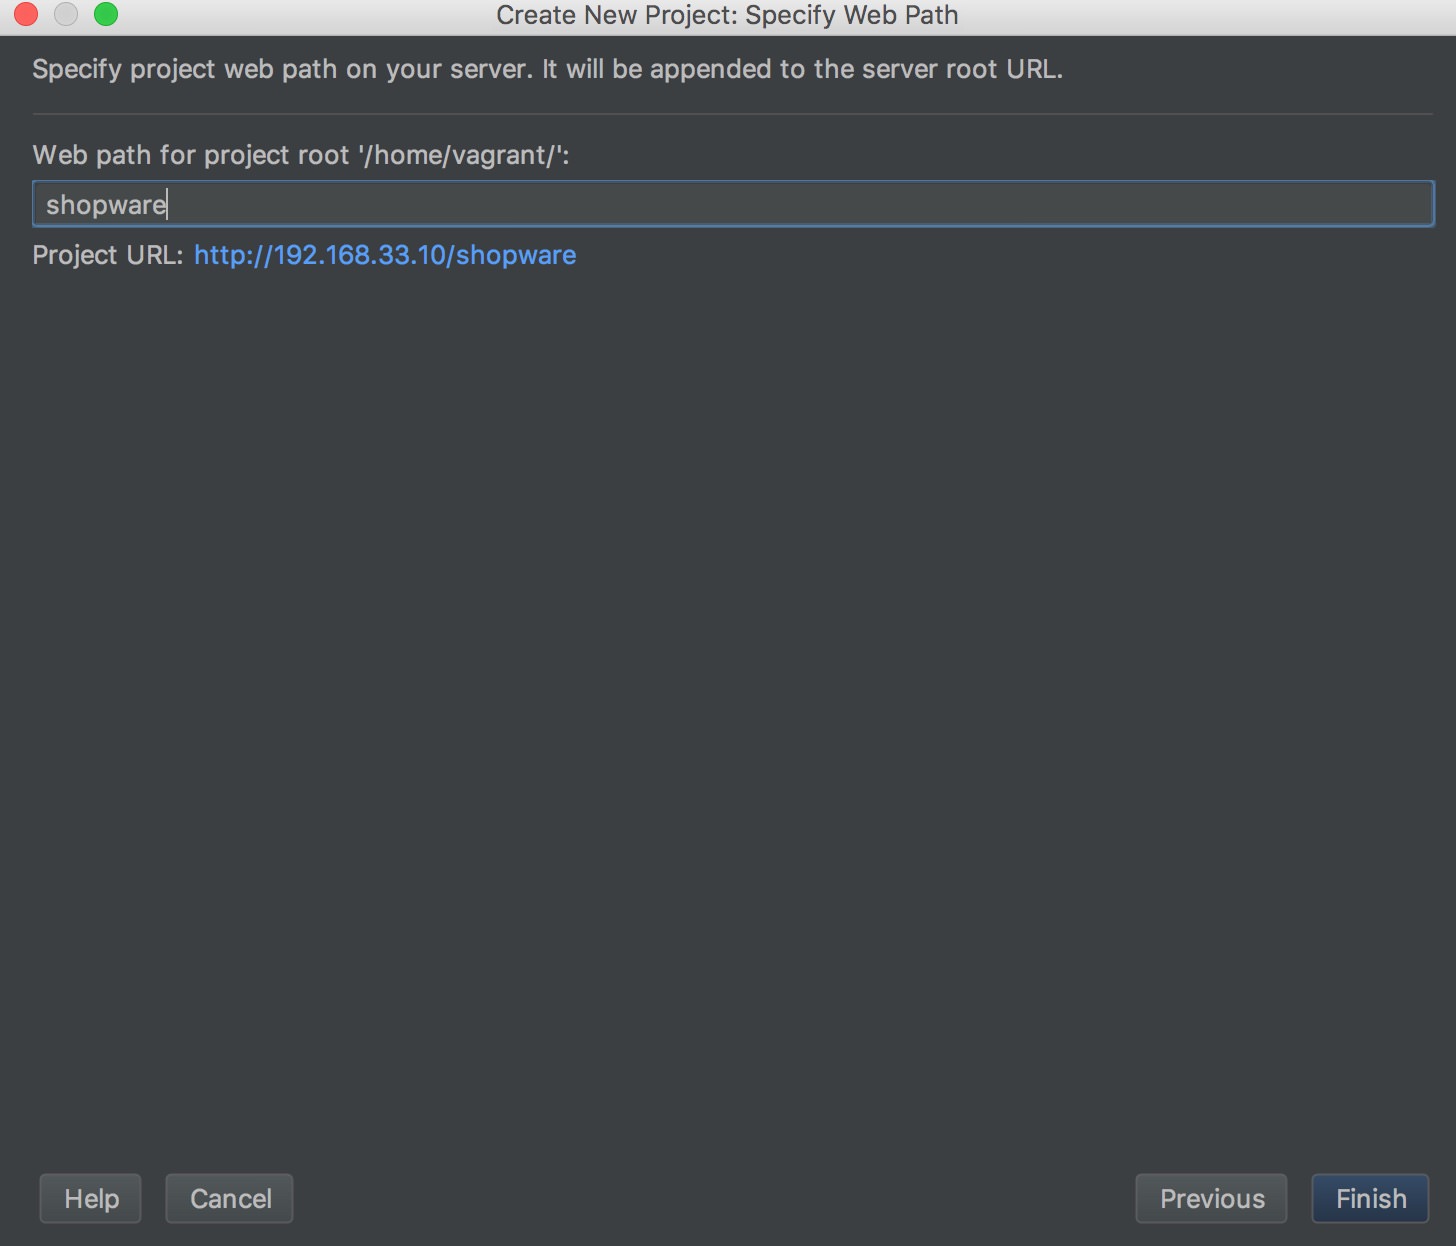
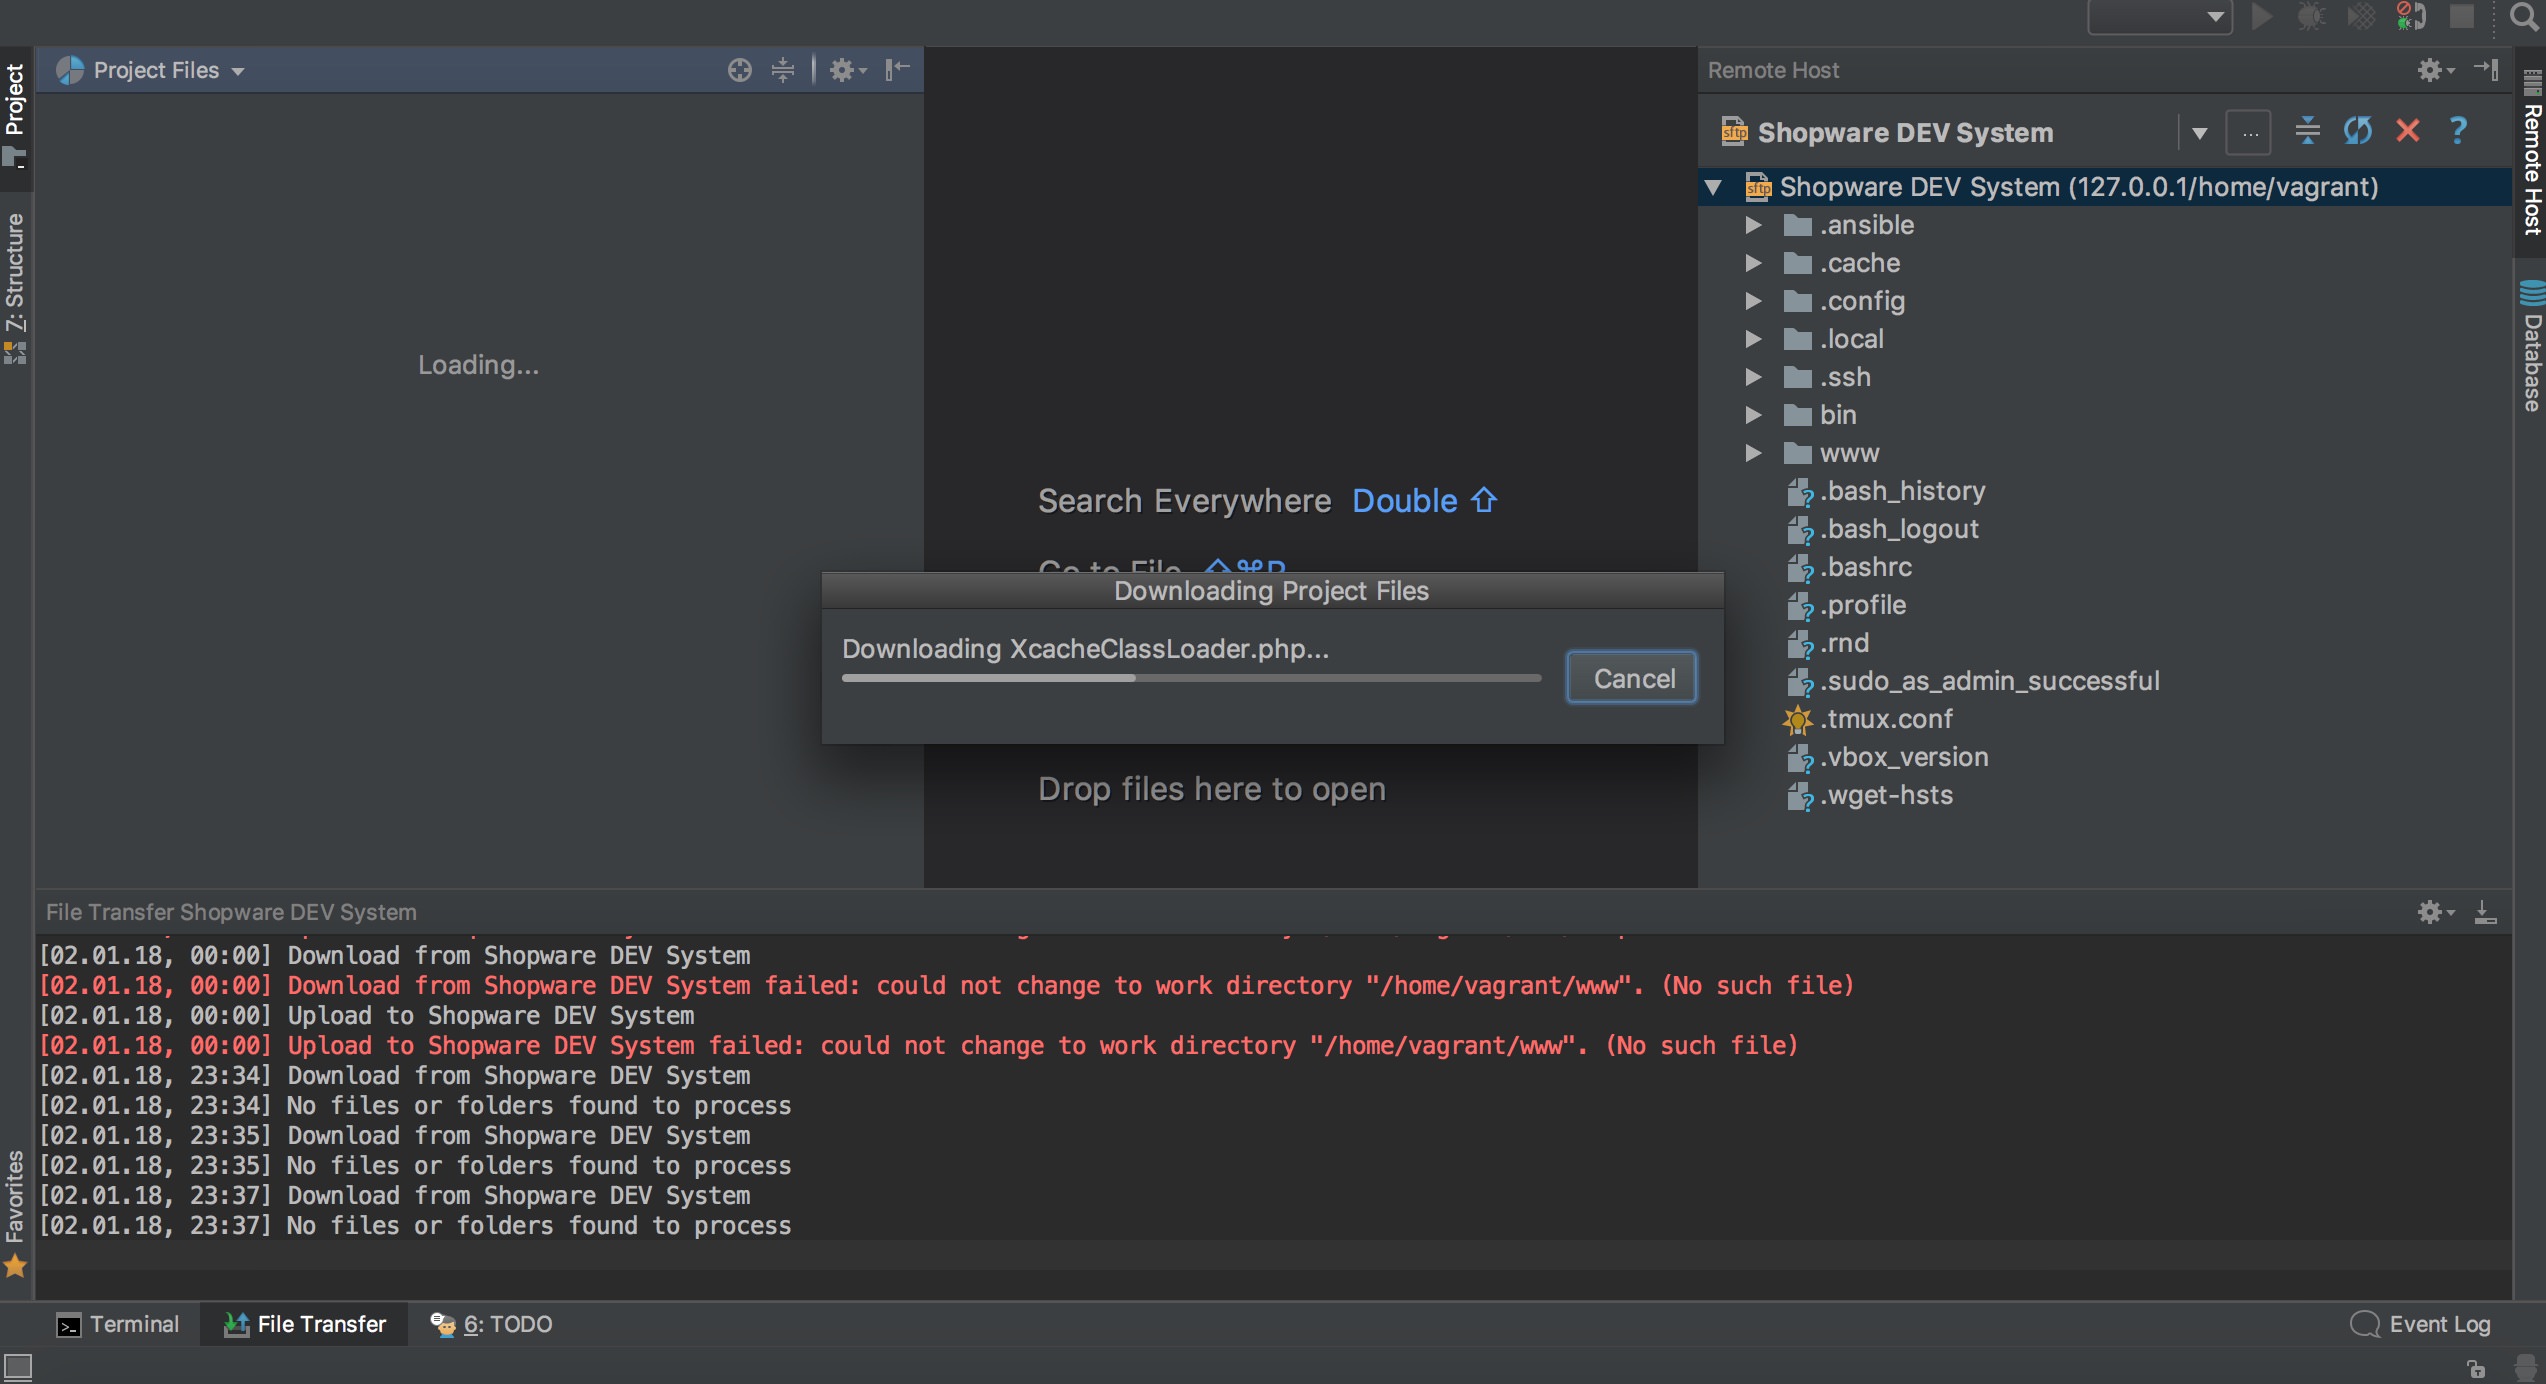
After click on „Finish“ the files from your virtual machine will be downloaded.
Do you see the message for Symfony Plugin in the right corner? I clicked on „with auto configuration now“. Then:
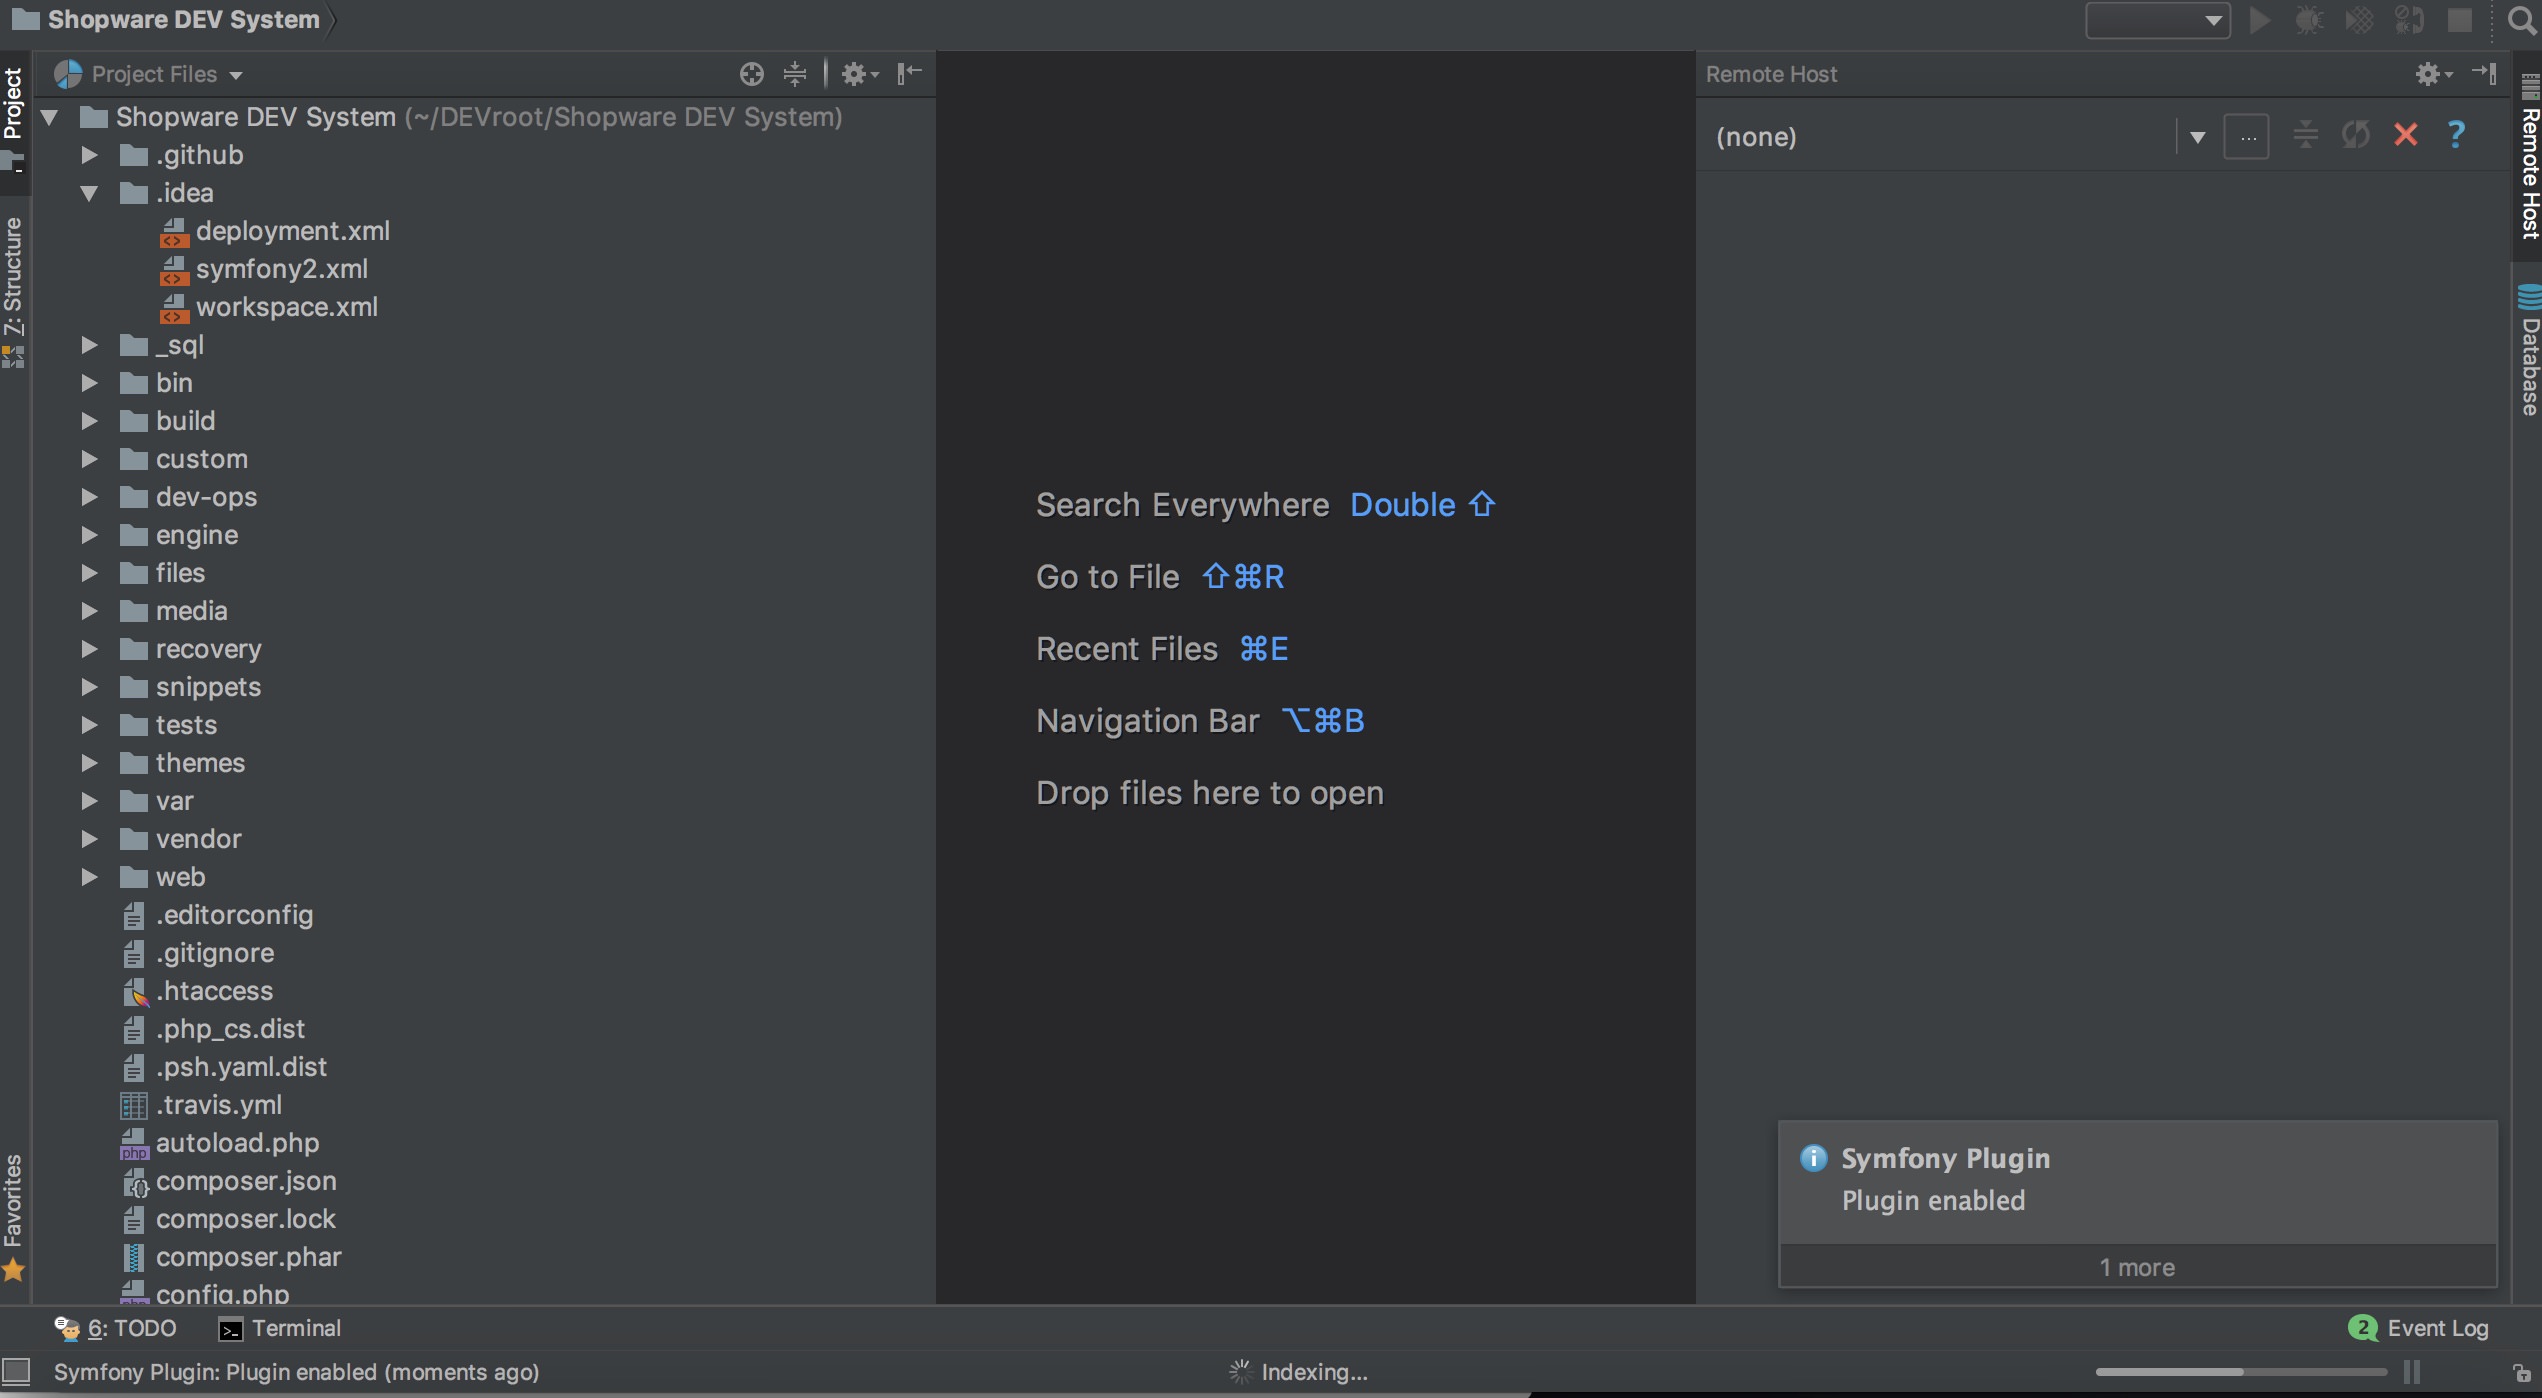
The Symfony Plugin was enabled.
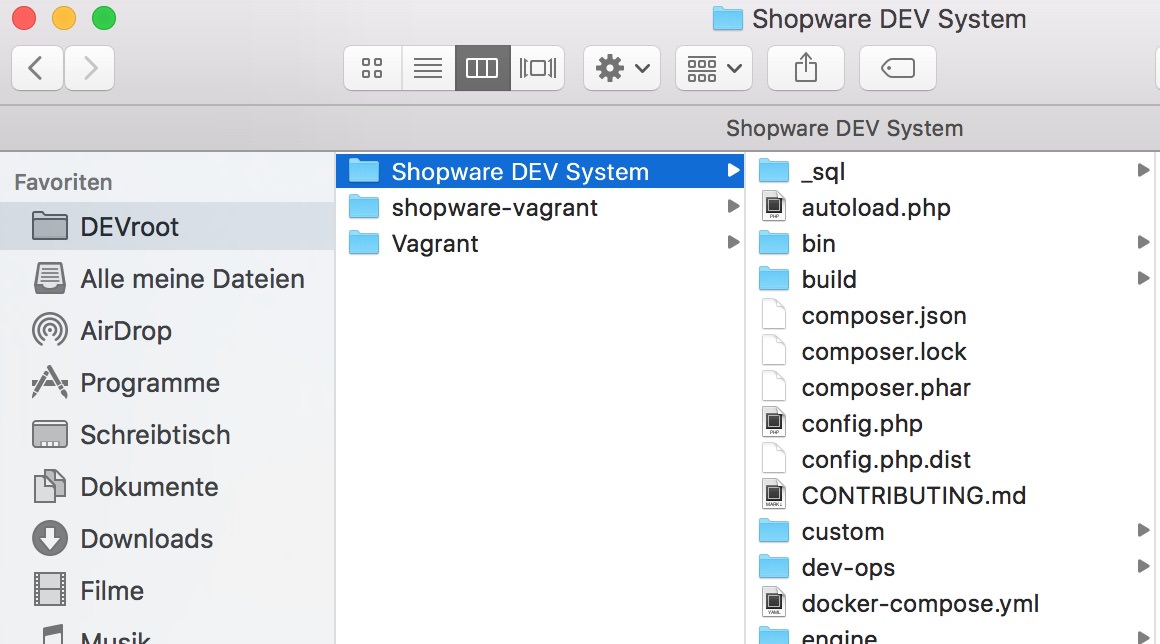
You can see the project also in your local folder:
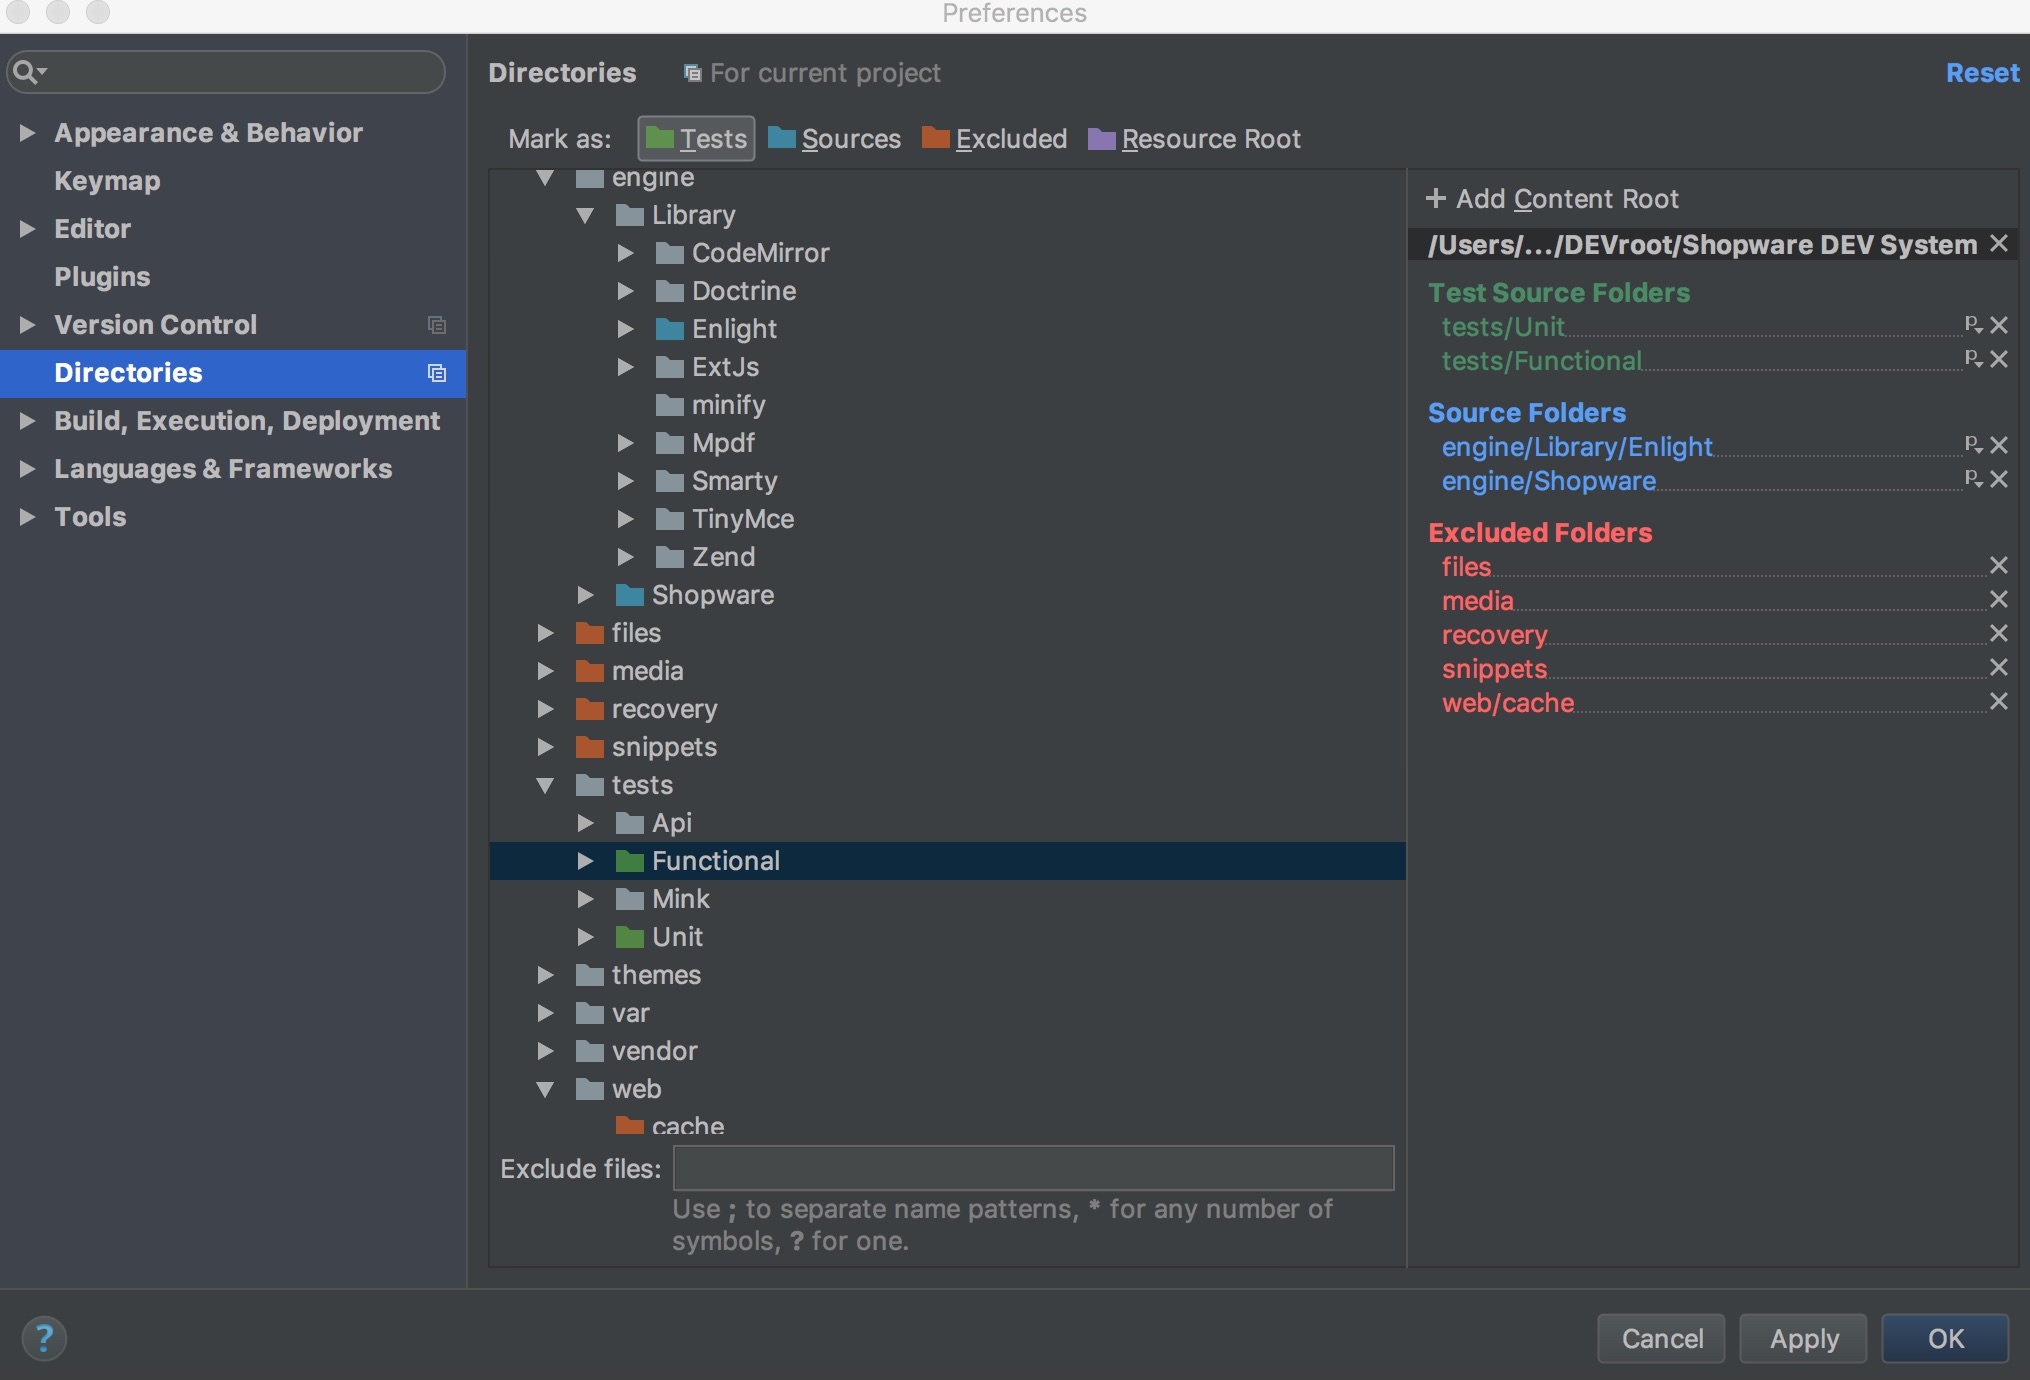
Last step in PhpStorm is to mark folders of the project as „Source Folders“, „Test Source Folders“ and „Excluded Folders“. Latter will be excluded this way from indexing of your files in the project. Index will help you during your development to find files of your project very fast.
OK, now it is done. Great.
If you liked what you read I would appreciate it very much if you would leave a small donation of only 1 EUR for hosting the blog.
[paypal-donation]
Thank you very much, René
Was this helpful?
0 / 0